

Setting Up Your VCAM XVR/NVR For the First Time
Description:
- This page will guide you through the first-time setup of your VCAM XVR or NVR.
Requirements:
- A VCAM XVR or NVR connected to a monitor and mouse.
Instructions:
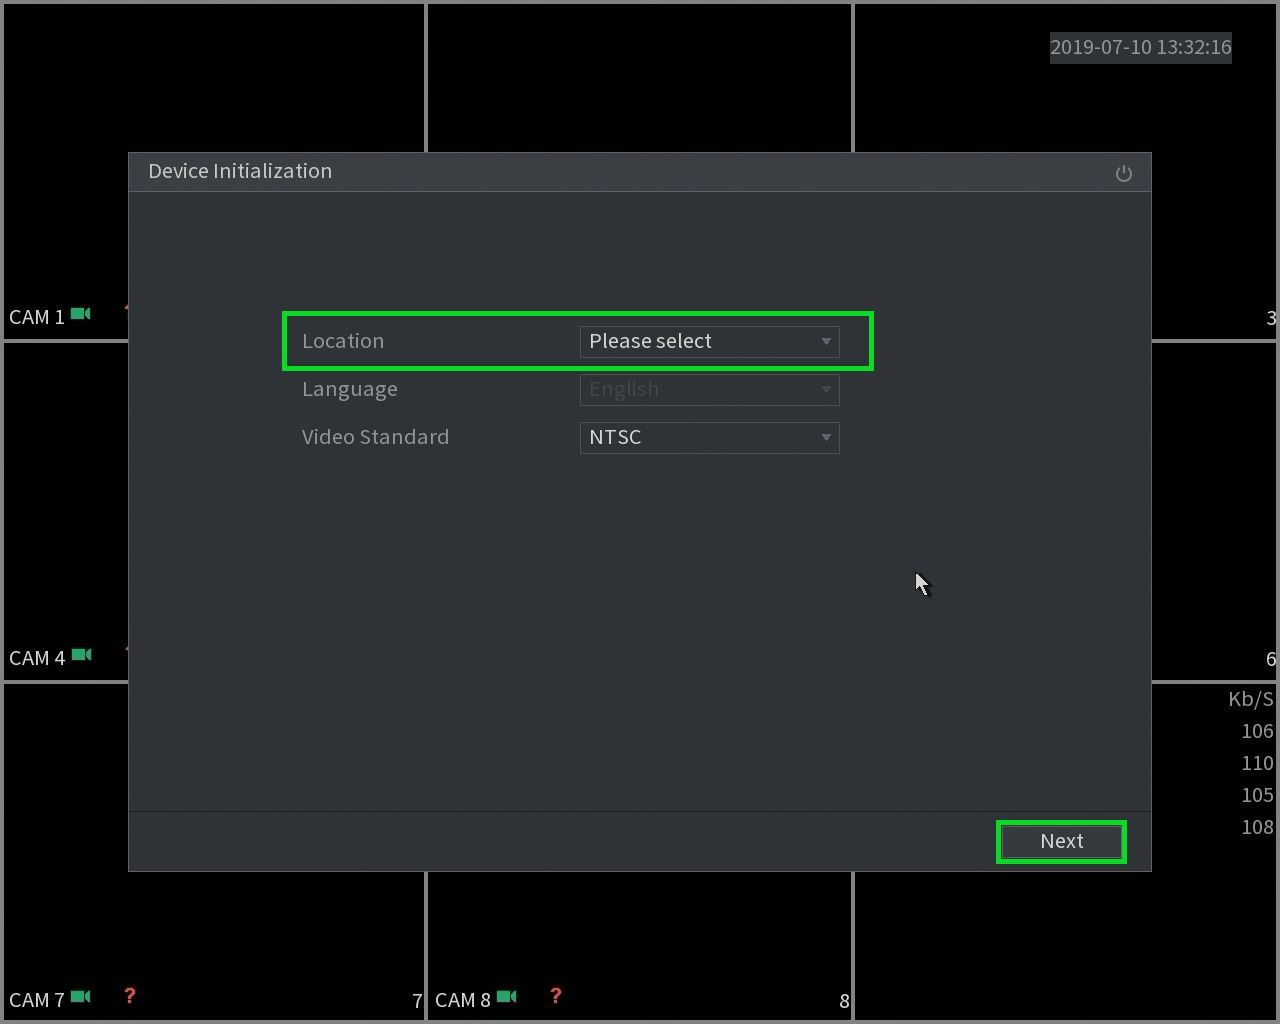
- After booting up for the first time, you will be greeted with a setup wizard starting with the region settings menu. Select your location and desired language. Your VCAM system will automatically determine the preferred video standard based on your region. Click "Next."
= NOTE: If you do not see this screen upon startup and are instead faced with the password screen, follow this guide from that step onwards - you can adjust your region, video standard, and time/date settings in a later setup window.
- Now set the appropriate time zone for your location and adjust the time and date if necessary. Click "Next."
= NOTE: At this stage, your system is operating in 24-hour time and you must adjust your hours correctly. You can change this later.

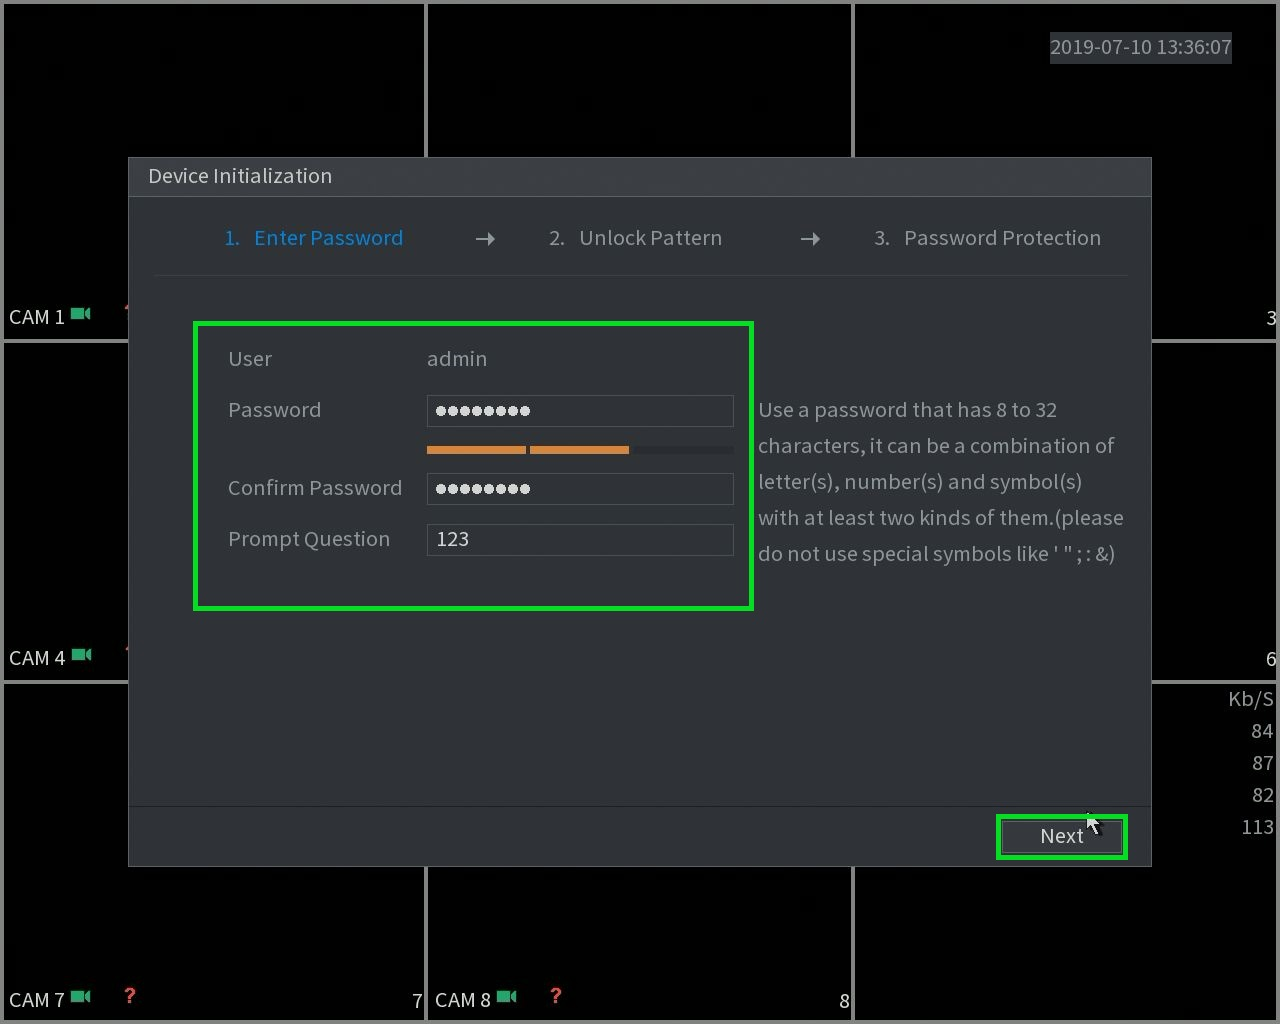
- You will now be prompted to input a password for the administrator account. Follow the guidelines to ensure your password is secure, and retype that same password in the "Confirm Password" section. You may set a prompt that reminds you what your password is, but this is not required to proceed to the next step. When you're satisfied with your password, click "Next."
- For a quicker login, you may set a secure pattern. If you do not wish to do so, simply click "Skip."

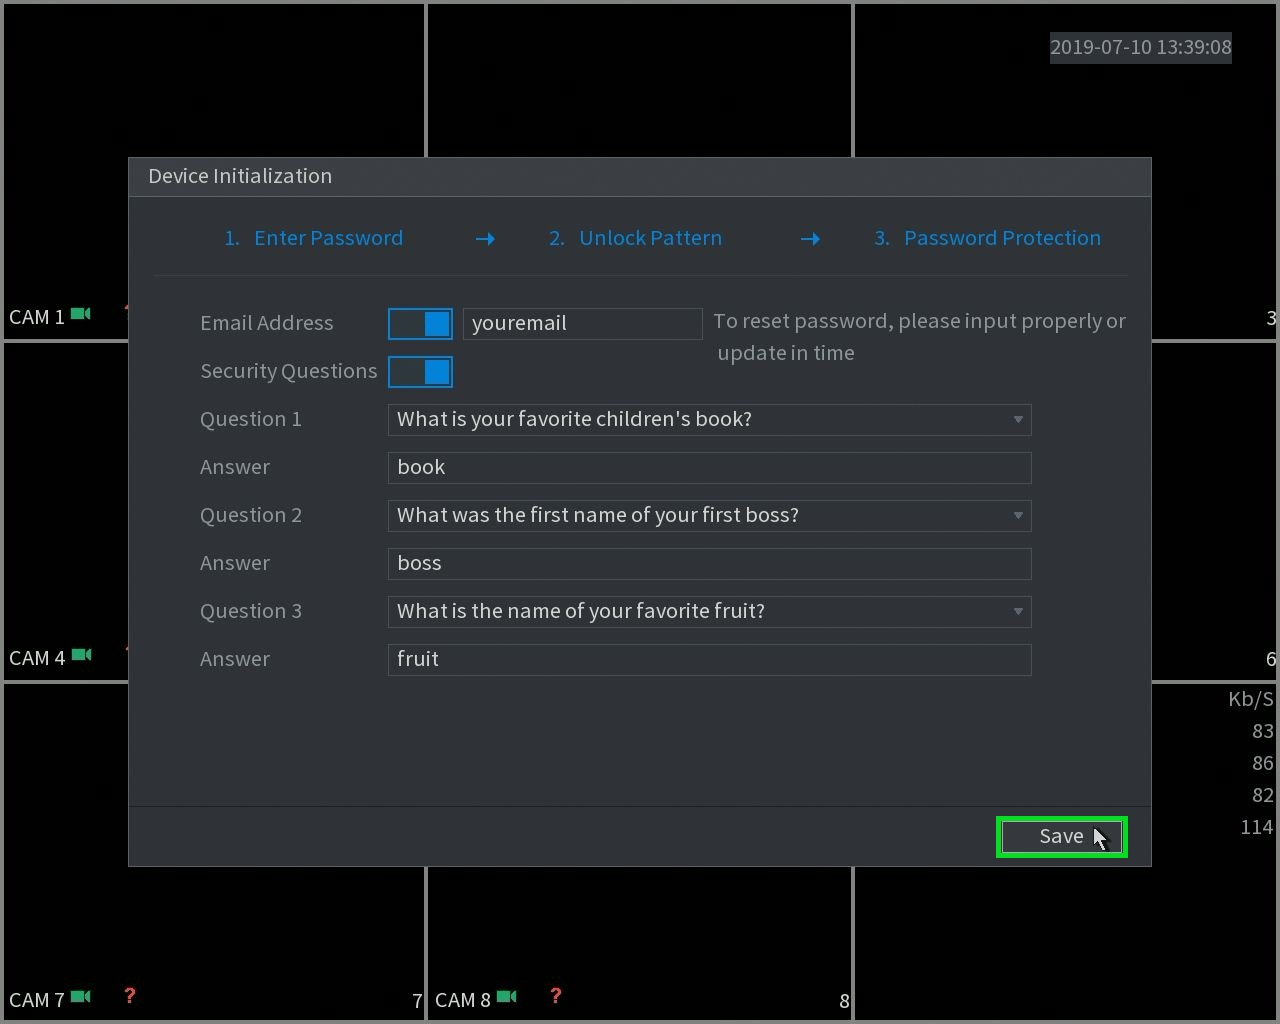
- If you wish to set an email address and security questions for password recovery, you may do so here. You can add or change these after setting up the device. Furthermore, with the use of the DMSS smart phone app and account, you can recover your device password without storing an email or security questions on the device. To skip this step, simply click the two blue sliders off, then click "Next."
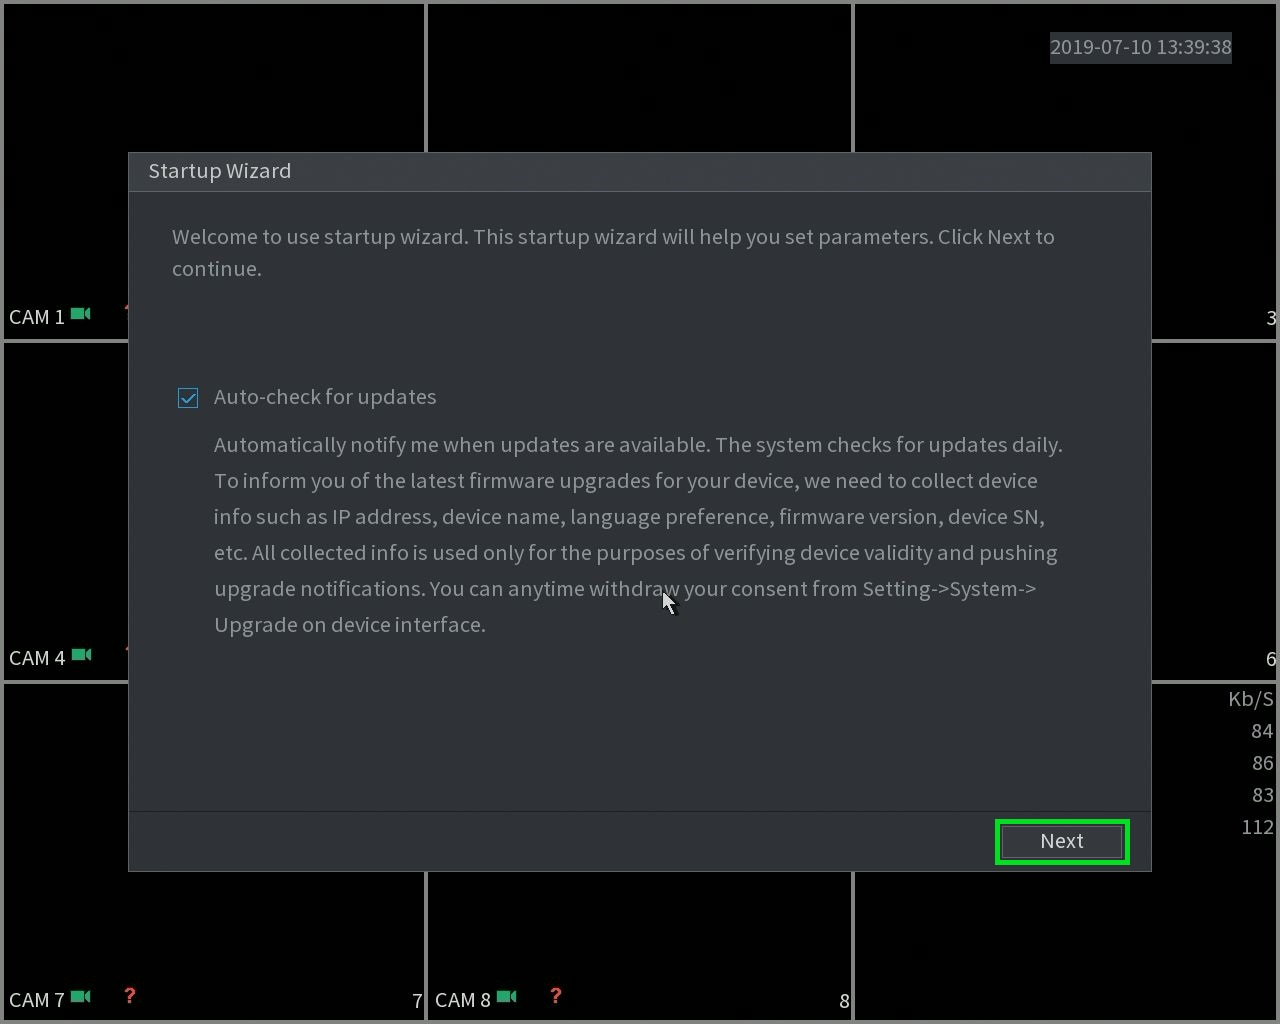
- This screen will enable or disable automatic firmware updates. This feature requires further setup, thus you can simply leave it as is and click "Next" to proceed.
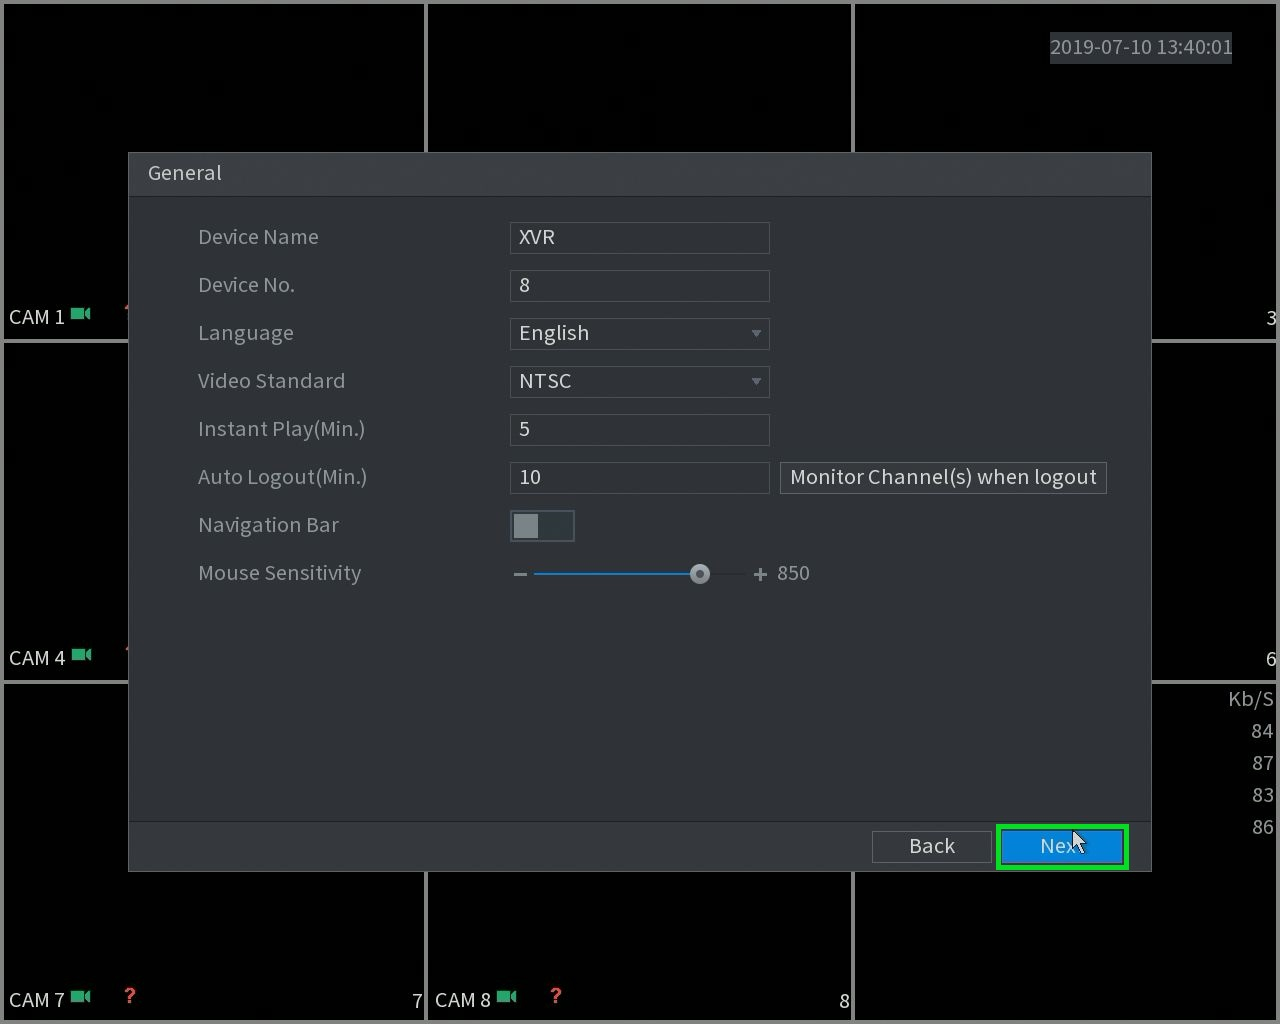
- This screen contains some general settings for your device. We recommend not changing any of these settings unless you fully understand what they do and how they affect your system. Use this screen to ensure that your video standard is set to NTSC for North American systems. The only other settings we recommend changing is "Auto Logout," the number of minutes the system will wait before requiring a password to change settings after initial password entry, and "Mouse Sensitivity," how fast your mouse will move your cursor on your screen. Click "Next" to proceed.
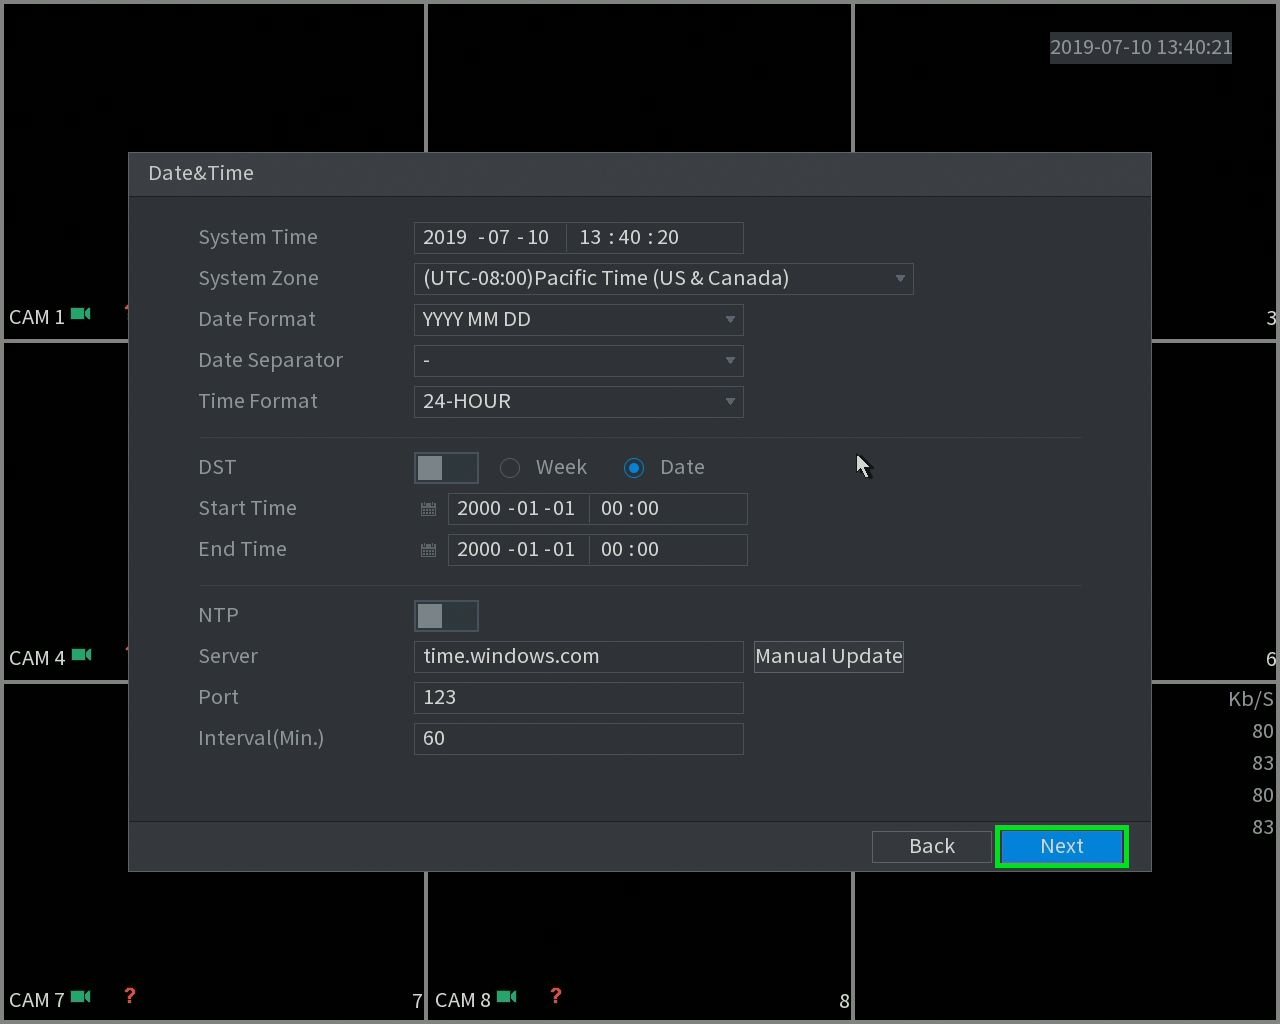
- This screen allows you to set advanced time and date settings.
= We recommend setting your date format to the American standard (MM/DD/YYYY) and your time format the American standard (12-HOUR).
= If you would like to enable Daylight Savings Time (DST), click the slider next to "DST" and set the format to "Week." Then set the boxes to the following:
| Start Time: | Mar | 2nd | Sun | 02:00 |
| End Time: | Nov | 1st | Sun | 02:00 |
= If you would like to automatically sync your time with national servers, click the slider next to "NTP" and click "Okay" on the pop-up box.
- We recommend clicking "Next" to skip through the remaining settings windows. These will allow you to set up your recording preferences, internet settings, and video encoding settings. You can change these after setting up your device and customize them by each recording channel, thus we advise adjusting these after setting up your XVR/NVR and adding your cameras. Once you have skipped through the remainder of these settings windows, you will receive a pop-up as follows; click "OK."
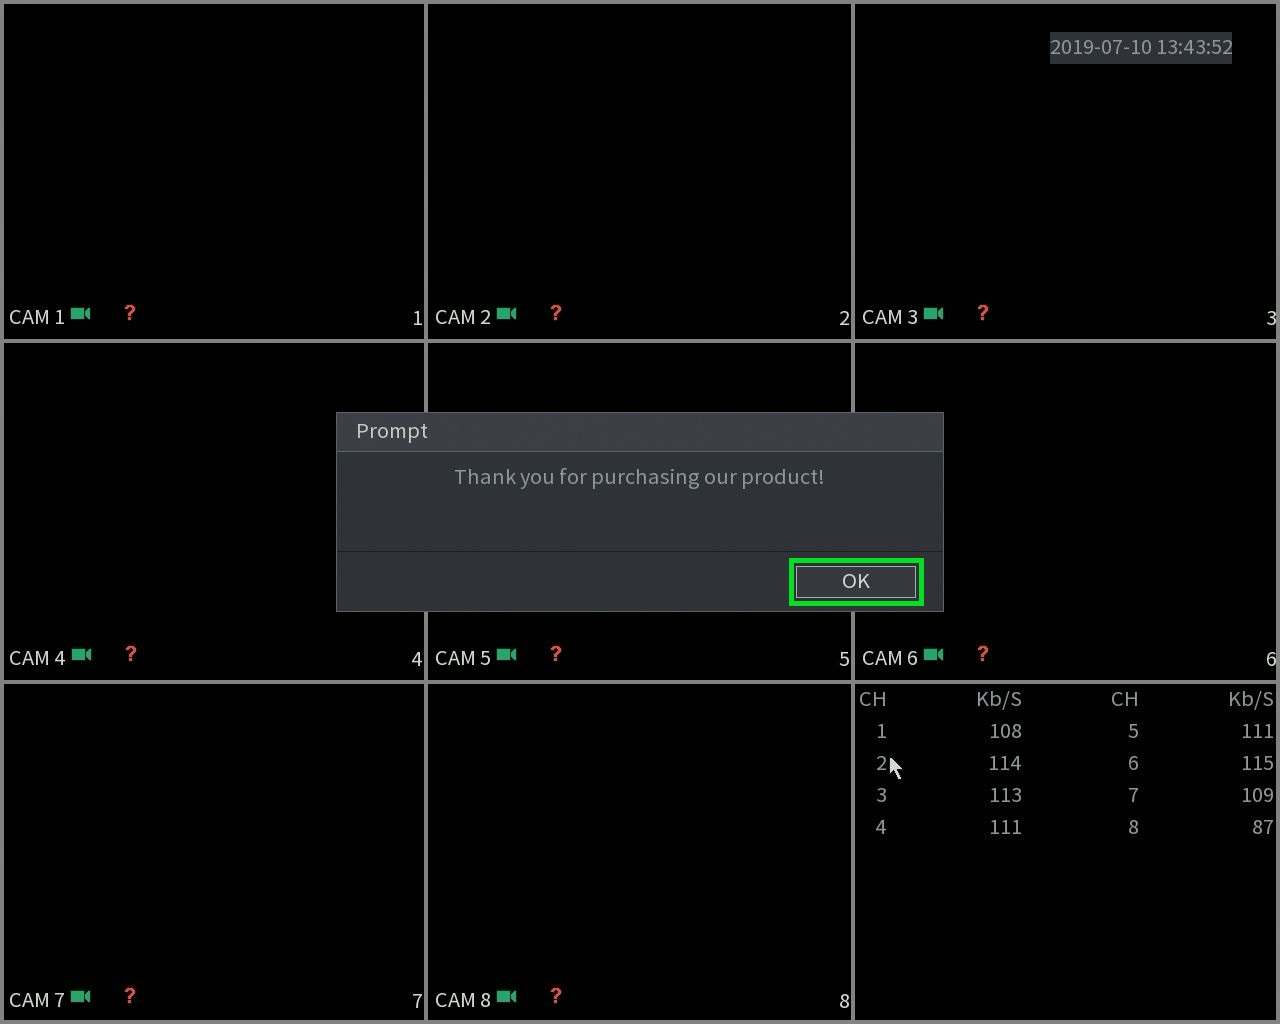
- You have completed the initial setup of your VCAM XVR/NVR. From here, feel free to start adding cameras or enter the menu to explore other settings!
= NOTE: If you receive a warning asking you to change your resolution, we recommend clicking no/cancel and manually adjusting your display settings. If you set your display resolution to be greater than your screen/monitor's output resolution, you may be unable to see anything on your device and will have to reset your system or plug in a monitor that supports that resolution.


